How to Remove Your Uconnect Radio
Watch step-by-step video tutorials to find your radio serial number and unlock your radio
Already see the serial label on your radio?
No need to read the whole guide. Enter your Uconnect serial number and get your unlock code instantly on screen and by email, from 19.99.
Get My Uconnect CodeInstant for most models. Money-back guarantee if the code does not work.
What You'll Learn in This Guide
Understanding Uconnect Radio Removal
Uconnect is Chrysler's infotainment system found in vehicles manufactured by Dodge, Jeep, RAM, Fiat, and Chrysler brands. When your Uconnect radio displays an anti-theft security code request, you'll need to locate the radio's serial number to retrieve your unlock code.
The serial number is printed on a white or silver label affixed to the radio unit itself. In most cases, this label is only accessible by physically removing the radio from the dashboard. This comprehensive guide provides video tutorials for the most common Uconnect-equipped vehicles to help you safely remove your radio and find this critical serial number.
When Do You Need This?
- After disconnecting or replacing your car battery
- Following electrical system repairs or maintenance
- When purchasing a used vehicle with a locked radio
- After a complete power loss or electrical fault
- When upgrading from a factory radio to an aftermarket unit
Uconnect Generations & Screen Sizes
Uconnect systems have evolved through multiple generations since 2008. Understanding which generation you have can help you locate the correct removal tutorial and identify your serial number format.
5" Uconnect (2011-2018)
- Radio Models: RA2, RA3, VP3
- Common In: Dodge Charger, Challenger, Durango
- Features: Touchscreen, navigation (optional)
- Serial Format: T00AM, T00BE, or TM9
7" Uconnect (2013-2020)
- Radio Models: VP4, RA4
- Common In: Jeep Wrangler JL, Cherokee
- Features: HD touchscreen, CarPlay/Android Auto
- Serial Format: T00AM, T00BE, U-series
Fiat Uconnect
- Radio Models: A2C, Harman variants
- Common In: Fiat 500e, Ducato, commercial vans
- Features: Compact European design
- Serial Format: Varies, Continental/Harman
All Formats Supported
Our service works with ALL Uconnect radio models from all years (2008-2025). Whether you have a 4.3" basic model or the latest 12" display, we can generate your unlock code instantly from the serial number.
Tools & Preparation
Required Tools
- Plastic trim removal tools (recommended) or flathead screwdriver wrapped in cloth
- Flashlight or phone light to read serial numbers
- Smartphone camera to photograph the serial number label
- T10, T15, or T20 Torx screwdriver (vehicle-specific)
- Socket set (for some models)
Safety Tips
- Park on a level surface with the parking brake engaged
- Disconnect the negative battery terminal if you're uncomfortable working with electronics
- Work in good lighting conditions
- Take photos at each step for reassembly reference
- Keep track of all screws and clips you remove
- Be gentle with plastic clips - they break easily
Video Tutorials by Vehicle Brand
Click your vehicle brand to watch step-by-step radio removal tutorials.
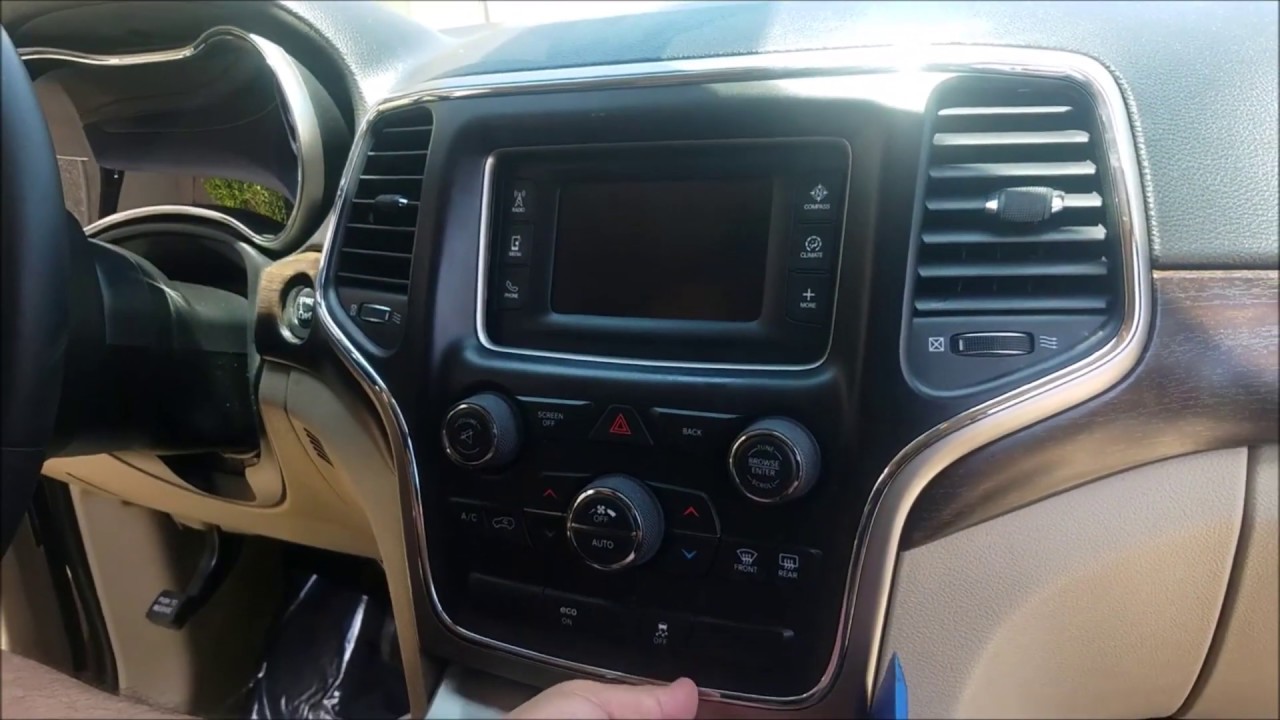
Dodge Charger 2 Videos
Dodge Charger: Dodge Charger: Trim panel removal, radio disconnection, and serial number location for 2011-2015 models with 5" or 8.4" Uconnect.
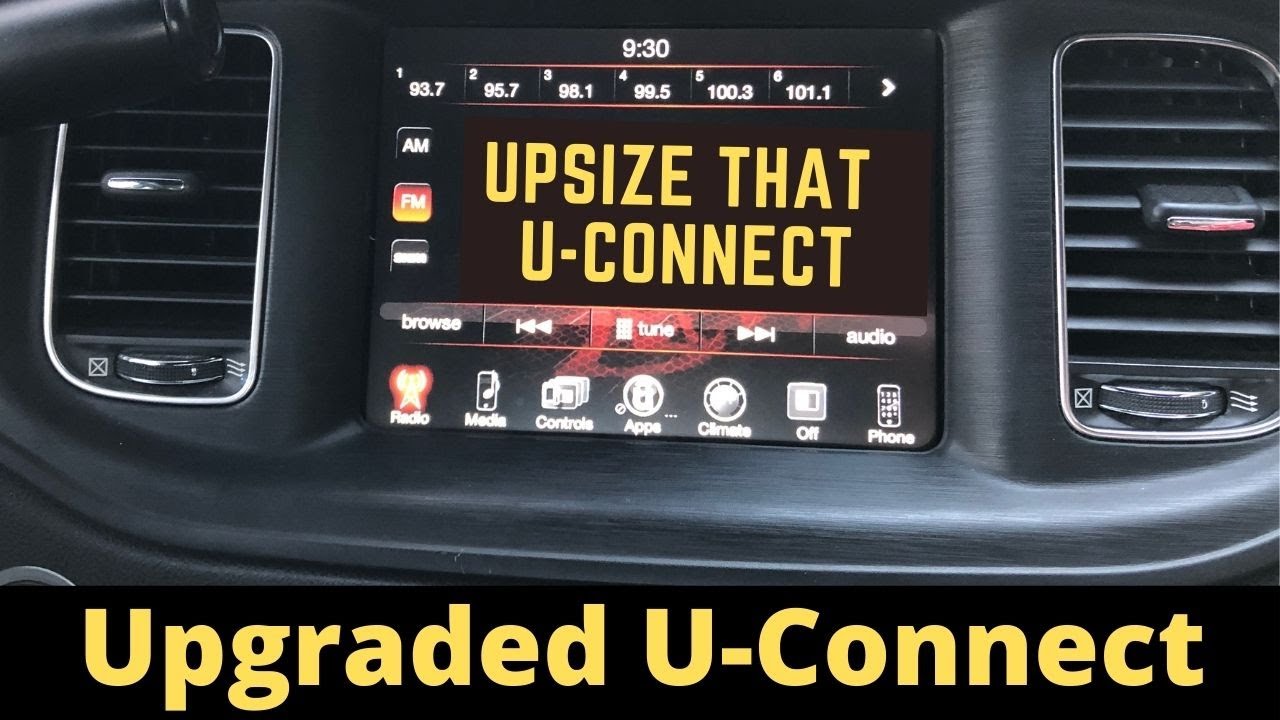
2015 Charger - 5" to 8.4"

2011-14 SRT8 - 8.4" RB5
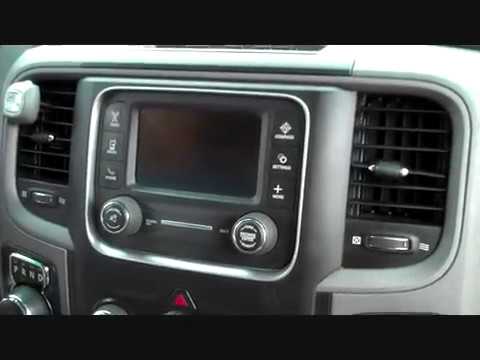
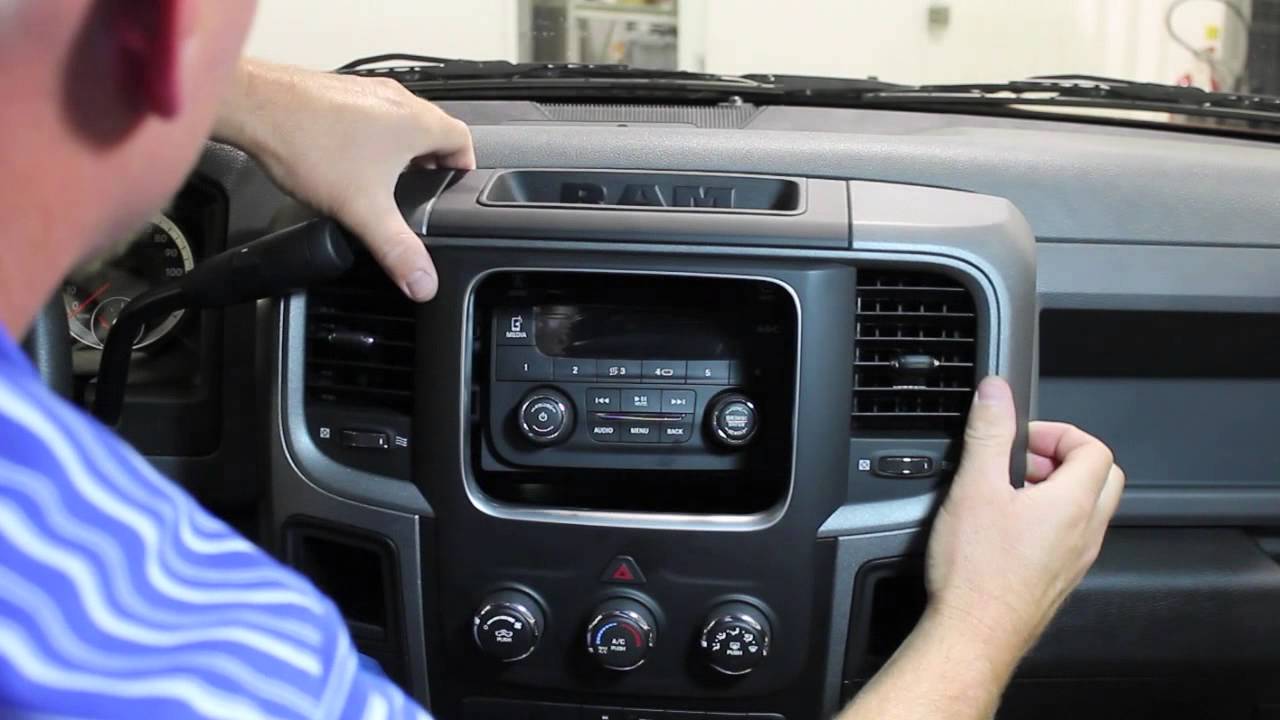
Dodge Ram / RAM - Uconnect Radio Removal 2 Videos
For RAM truck owners: For RAM truck owners: These tutorials walk you through removing the Uconnect radio from various RAM truck models. Learn the proper technique to remove dash trim panels without damage, safely disconnect wiring harnesses, and access the radio serial number. Covers 2018-2022 RAM 2500/3500 models with different Uconnect configurations.
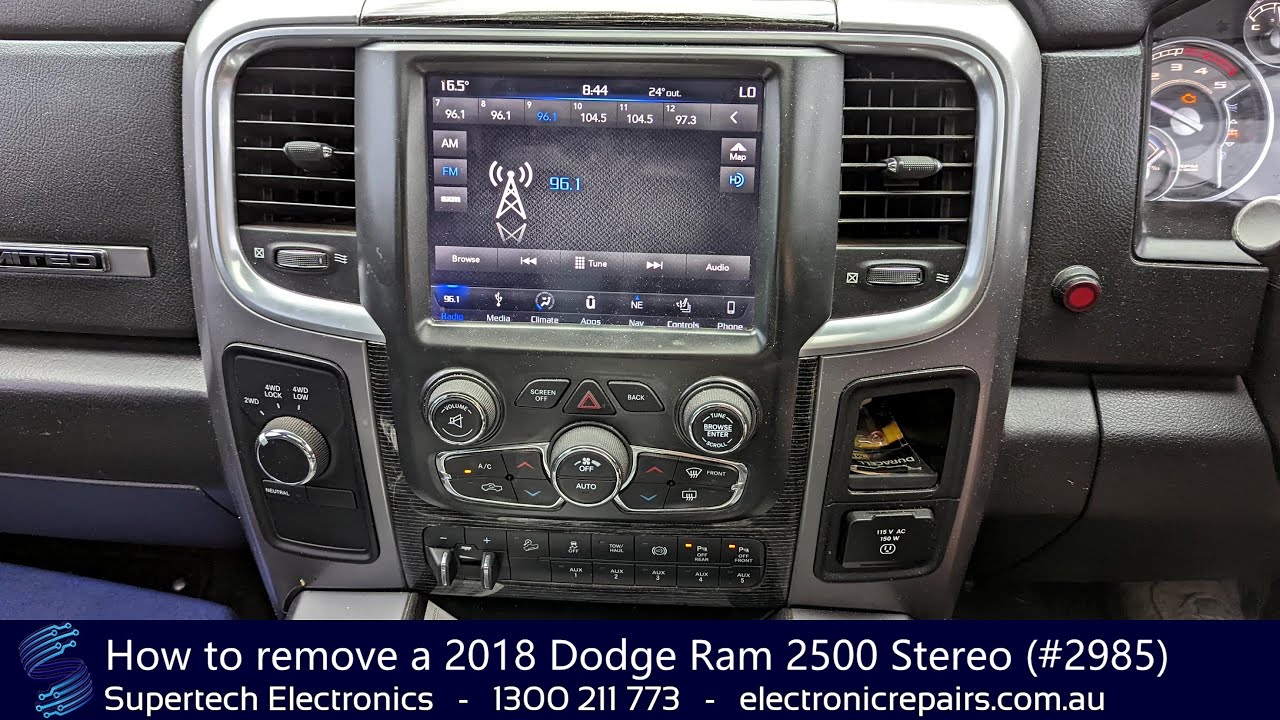
2018 Dodge Ram 2500 - Stereo Removal
2019-2022 Ram 2500/3500 - Radio Removal
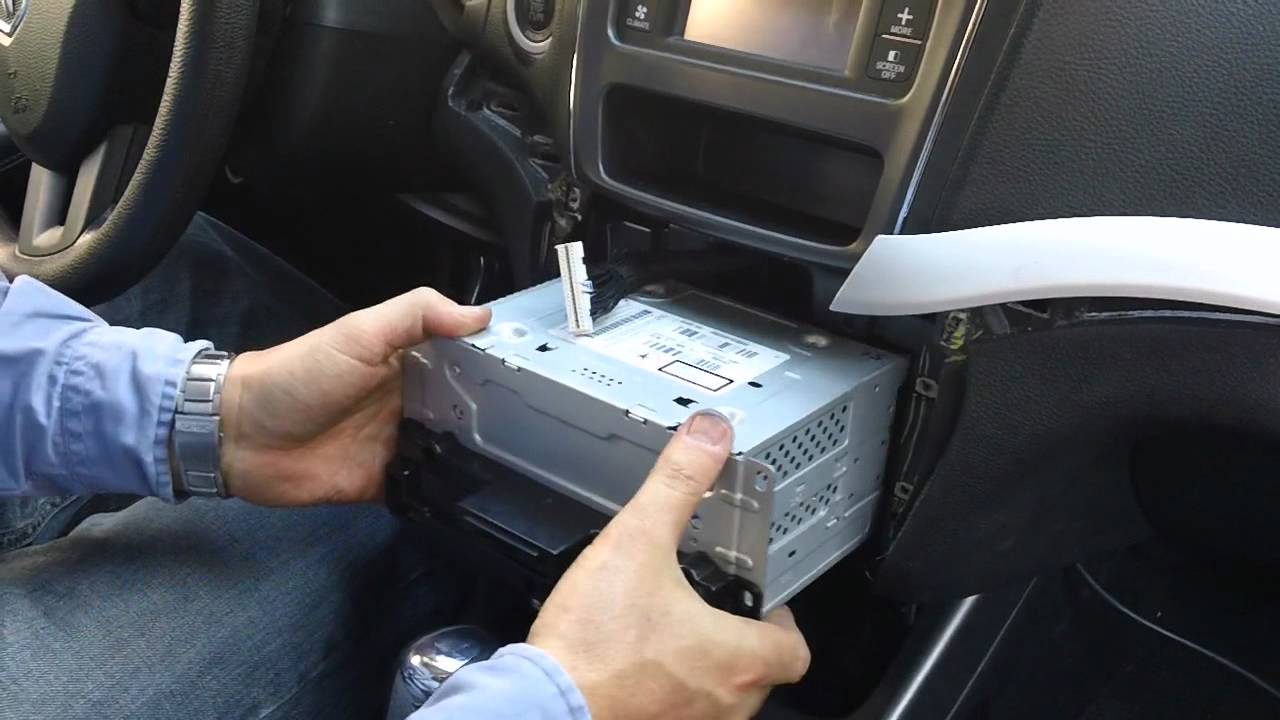
Jeep - Uconnect Radio Removal 2 Videos
For Jeep owners: For Jeep owners: Detailed removal instructions specifically for Jeep Wrangler JL and Cherokee models. These videos show you how to access the radio through the dashboard, proper tool usage, and where the serial number label is located. Ideal for 2013-2021 Jeep models with 7" Uconnect screens.
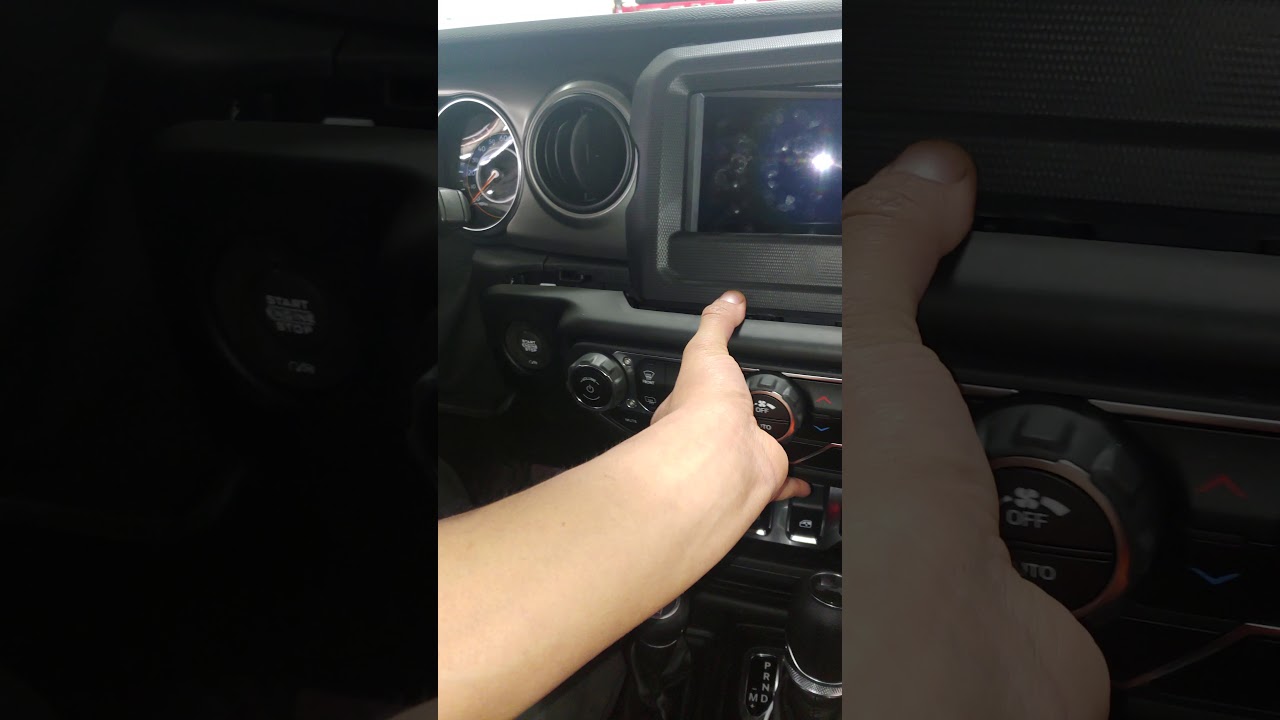
2018-2021 Jeep Wrangler JL - 7" Radio Removal
2013 Jeep Cherokee - Radio Removal
Fiat - Uconnect Radio Removal 2 Videos
For Fiat owners: For Fiat owners: Specific instructions for removing Uconnect radios from Fiat vehicles including the 500e and commercial vans. Includes the unique "nails method" for certain Fiat models. These tutorials are essential for Fiat Ducato, Citroen Relay, and Peugeot Boxer van owners.
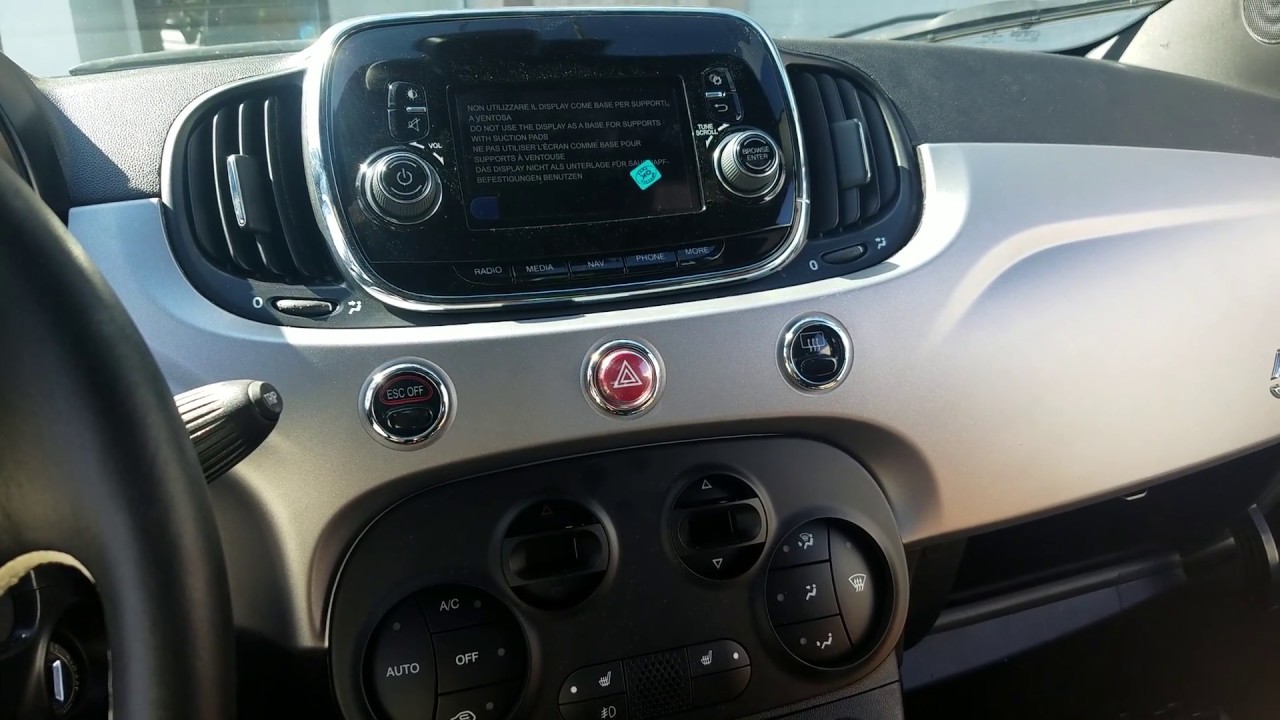
2018 Fiat 500e - Uconnect A2C Removal
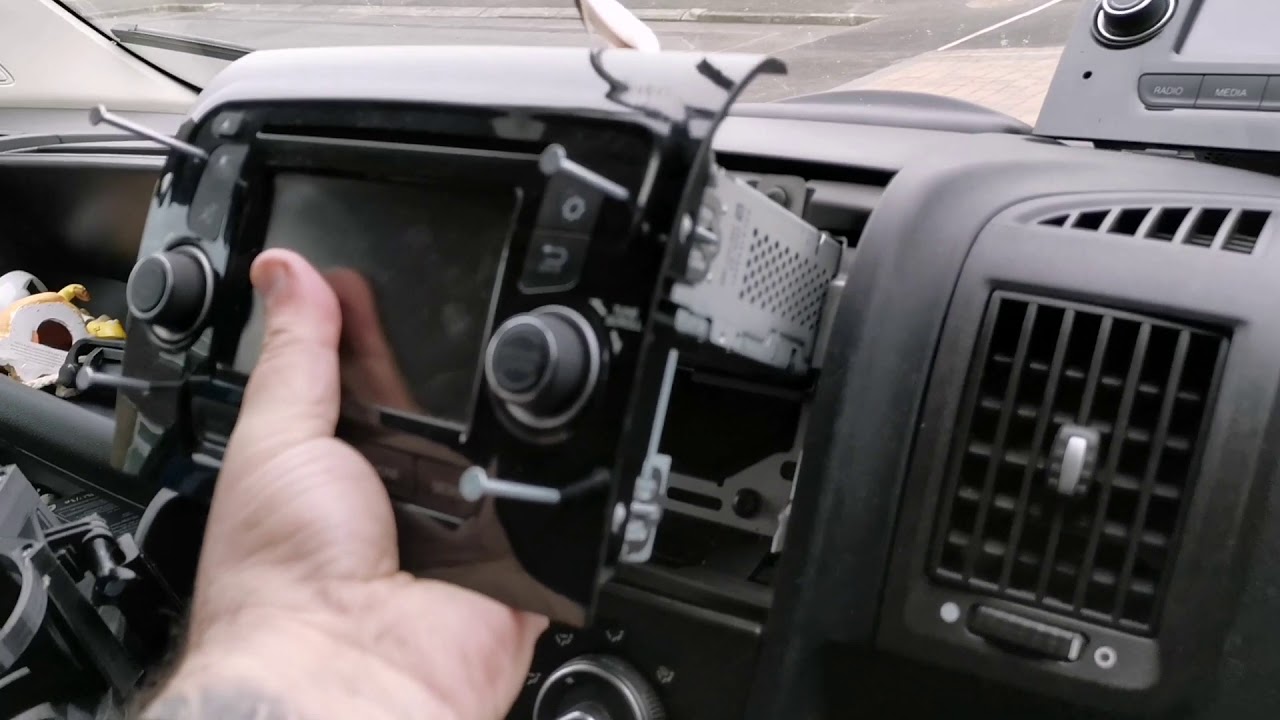
Fiat Ducato / Citroen / Peugeot - Removal with Nails Method
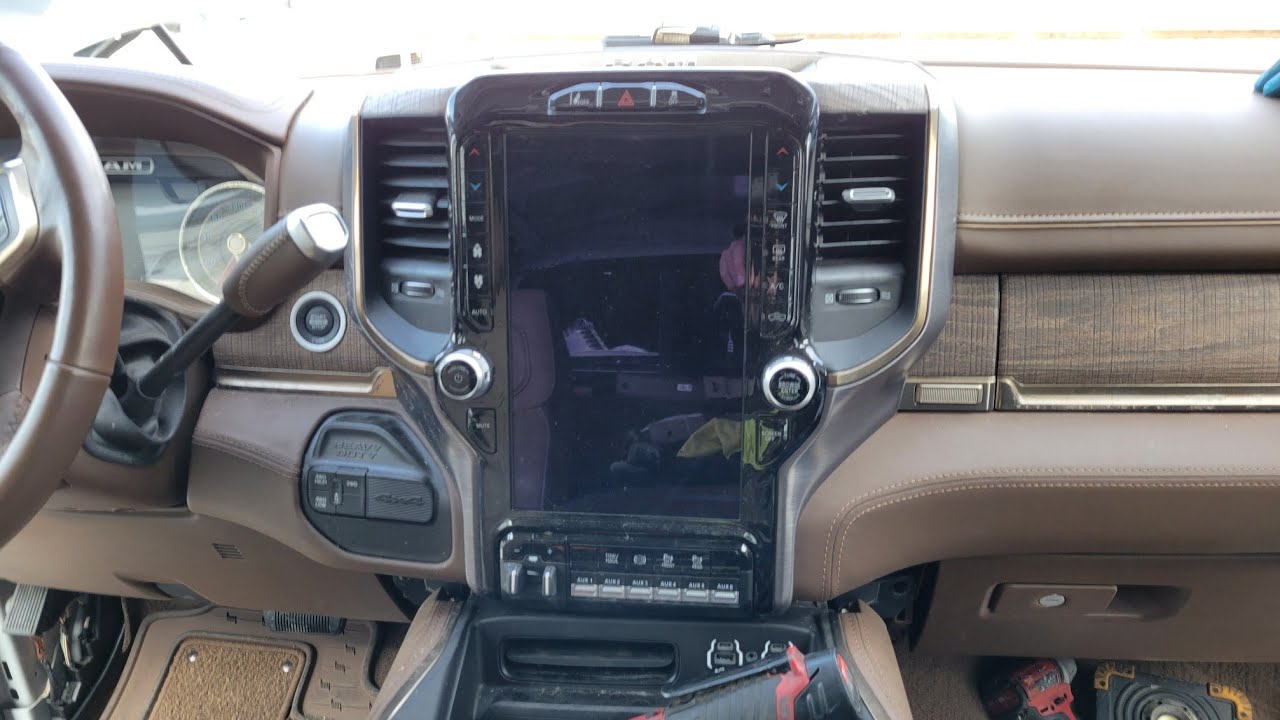
RAM ProMaster - Uconnect Radio Removal 2 Videos
For RAM ProMaster van owners: For RAM ProMaster van owners: Quick and efficient guides specifically designed for ProMaster vans. One video demonstrates rapid removal in under 60 seconds! Perfect for commercial van owners who need fast access to their radio serial numbers.
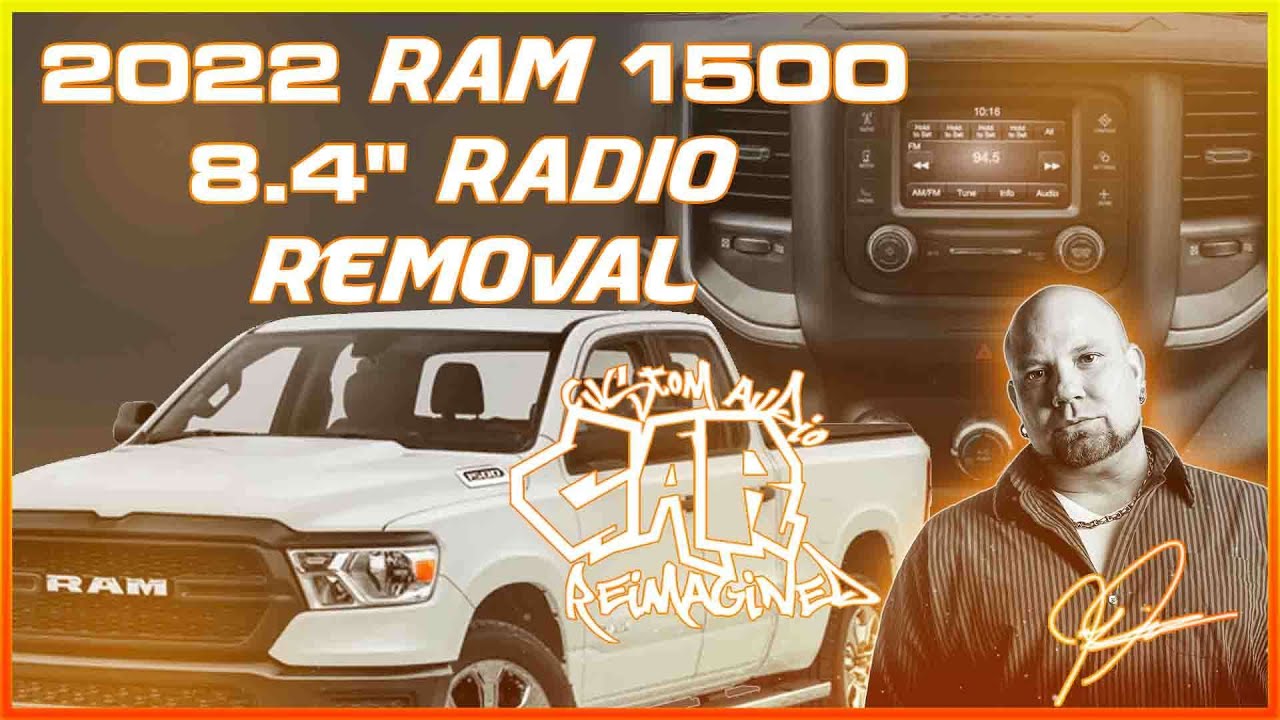
2022 RAM - 8.4" Uconnect in Under 1 Minute

RAM ProMaster - UConnect Removal
Other Models - Dodge Durango, Journey, and More 4 Videos
For other Chrysler, Dodge, and RAM models: For other Chrysler, Dodge, and RAM models: Additional comprehensive removal guides covering Dodge Durango (7" Uconnect), Dodge Journey, and various RAM models with 4.3" and 5" TVPQN radios. These videos include upgrade scenarios and different radio configurations.
2018 Dodge Durango - 7" Uconnect Removal
Dodge 1500 - 5" Uconnect Stereo TVPQN
2013-2015 Ram - 4.3" Uconnect TVPQN
2011 Dodge Journey - 4.3" to 8.4" Upgrade
Get Your Uconnect Radio Code in 4 Simple Steps
Find Serial Number
Watch video tutorials above to remove your radio and find the S/N label
No VIN required
Enter Serial Number
Type the S/N from your radio label into our online form
Secure & Private
Get Code Instantly
Receive your 4 or 5-digit unlock code on screen and via email
Instant delivery
Unlock Your Radio
Enter the code into your Uconnect system and enjoy your radio
Done!
Why Choose Our Service?
Instant Delivery
Get your Uconnect unlock code immediately - 24/7 automated service
Money-Back Guarantee
100% refund if your code doesn't work - risk-free service
All Uconnect Models
Works with 5", 7", 8.4", and 12" Uconnect systems from all years
Save 80% vs Dealer
Pay $19.99 instead of $120+ at the dealership
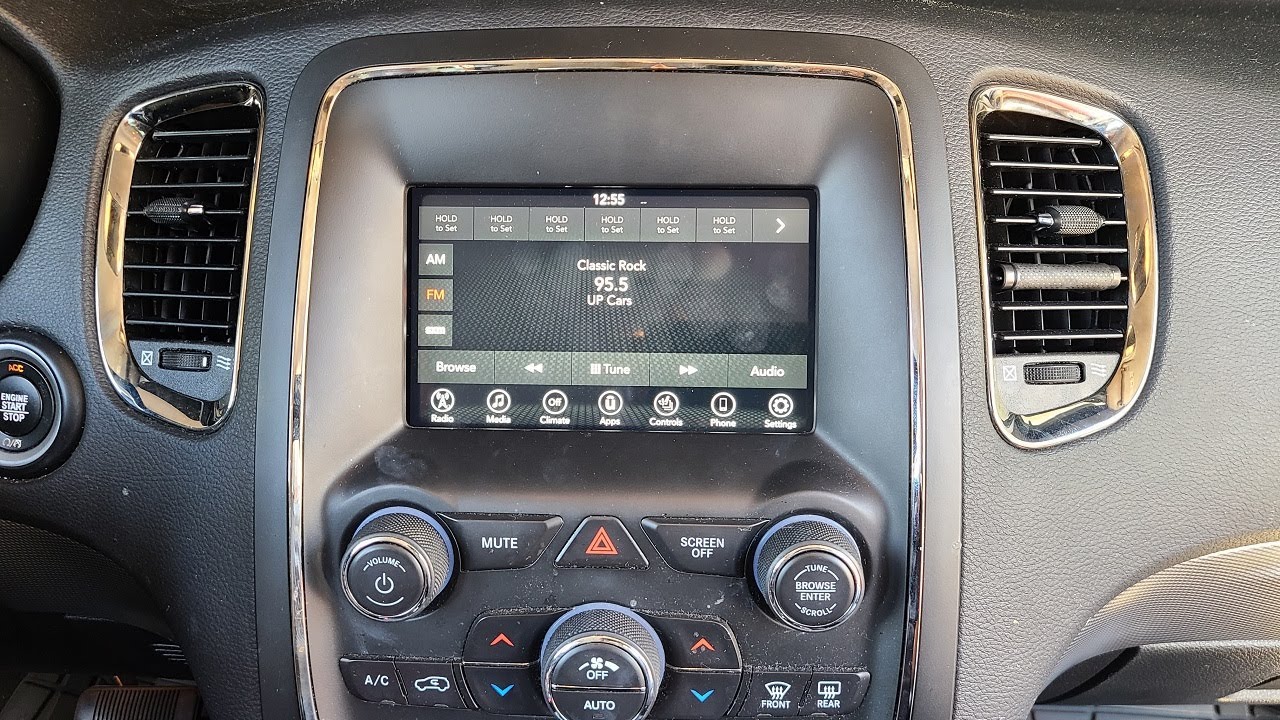
Understanding Uconnect Serial Numbers
The serial number (S/N) is the key to unlocking your Uconnect radio. This unique identifier is printed on a label attached to the radio unit and typically follows specific formats depending on the radio model and manufacturer.
Common Serial Number Formats
- VP2/VP3/VP4 Format: T00AM1234567
- RA2/RA3/RA4 Format: T00BE1234567
- RHR Format: TM91234567
- Harman Format: U1234L5678 or similar
- Continental Format: Varies by model year
Where to Find the Serial Number
- White or silver label on the radio chassis
- Usually on the top or side of the radio unit
- Sometimes visible without full removal (use a mirror)
- May also be accessible via on-screen Dealer Mode on some models
- Look for "S/N:" or "Serial Number:" on the label
Pro Tip
Take a clear, well-lit photo of the entire serial number label before reassembling. This saves you from having to remove the radio again if you need the information later. Make sure all characters are clearly visible in your photo.
Frequently Asked Questions
While not always required, disconnecting the negative battery terminal is recommended as a safety precaution, especially if you're inexperienced with automotive electronics. However, note that disconnecting the battery will reset your radio and other vehicle settings. Many technicians work with the battery connected, being careful not to short any connections.
Simply removing and reinstalling your factory radio for the purpose of reading the serial number should not void your warranty, provided you don't damage any components in the process. However, if you're still under warranty and uncomfortable with the procedure, you can ask your dealership to provide the serial number or use the on-screen method if your vehicle supports it.
Most Uconnect radio removals take between 5-20 minutes depending on your vehicle model and experience level. Some models like the RAM ProMaster can be done in under 60 seconds, while others with more complex dash trim may take longer. Watching the specific video tutorial for your vehicle model beforehand will significantly reduce your time.
Yes! Many newer Uconnect systems (2013+) allow you to access the serial number through the on-screen menu system using Dealer Mode or Engineering Mode. This method doesn't require any tools or physical radio removal.
Dashboard trim clips can be fragile, especially on older vehicles. If you break a clip, replacement clips are widely available online and at auto parts stores for $5-15 per set. Search for your specific vehicle model and year with "dash trim clips" or "panel clips." Most clips are simple push-pin style fasteners that are easy to replace.
Uconnect radios have an anti-theft security feature that locks the radio if power is interrupted. This happens most commonly when the battery is disconnected, replaced, or dies completely. The security code requirement helps prevent radio theft, as a stolen radio becomes useless without the proper unlock code. Once you enter the correct code, the radio will function normally and won't ask again unless power is interrupted.
Most Uconnect systems allow 3 incorrect code entry attempts before locking you out temporarily. After multiple failed attempts, the system may require you to wait 1 hour before trying again, or in some cases, the radio may require a dealer reset. It's important to get the correct code before attempting entry. Our service provides guaranteed working codes to avoid this issue.
If you remove the radio with the battery still connected, your presets should remain intact. However, if you disconnect the battery or the radio loses power during the process, you will likely lose your saved radio stations, clock settings, and other customizations. You'll need to reprogram these after entering your unlock code and restoring radio functionality.
Troubleshooting Common Issues
Problem: Trim panel won't budge
Solution: Double-check that all screws have been removed. Some panels have hidden screws under trim caps or in adjacent areas. Apply gentle, even pressure and work around the edges systematically. Use a plastic trim tool to avoid damage.
Problem: Can't read the serial number label
Solution: Use a bright flashlight and try different angles. If the label is worn or faded, try using your phone camera with flash - sometimes the camera picks up details better than the naked eye. Clean any dust or debris carefully with a soft cloth.
Problem: Radio connector is stuck
Solution: Most Uconnect radios have a release tab or button on the wiring harness connector. Look for a small tab on top or side of the connector and press it while gently pulling the connector away from the radio. Never force it - there's always a release mechanism.
Problem: Radio won't come out after removing screws
Solution: Many radios are held by mounting brackets from the sides. After removing the visible screws, you may need to gently pull the radio straight out while wiggling it slightly. Some models require removing additional side panels or HVAC controls for clearance.
Problem: Dashboard warning lights after reinstallation
Solution: Ensure all connectors are fully seated and clicked into place. A loose connection can trigger warning lights. Disconnect and reconnect each connector firmly. If lights persist after a few drive cycles, have the system scanned for error codes.
Problem: Climate controls not working after reinstalling
Solution: On integrated systems, climate control connectors may share space with radio connectors. Verify that all connectors behind the radio are properly reattached. Refer to your removal photos to ensure nothing was left disconnected.
Can't Find Your Model?
Search YouTube for more Uconnect removal videos specific to your vehicle.
Search YouTubePrefer the On-Screen Method?
Access your serial number directly from the Uconnect screen without removing the radio.
View Screen MethodRelated Articles
On-Screen Method
No tools needed! Access Dealer Mode to get your serial number directly from the Uconnect screen.
View MethodVerify Service Legitimacy
Learn how to identify trustworthy radio code services and avoid scams with our 12-step guide.
Read GuideHonda/Acura Guide
Different car brand? Check out our complete guide for Honda and Acura radio code retrieval.
View GuideReady to Unlock Your Radio?
Once you have your serial number, get your unlock code in seconds!
Get Your Unlock Code Now - $19.99