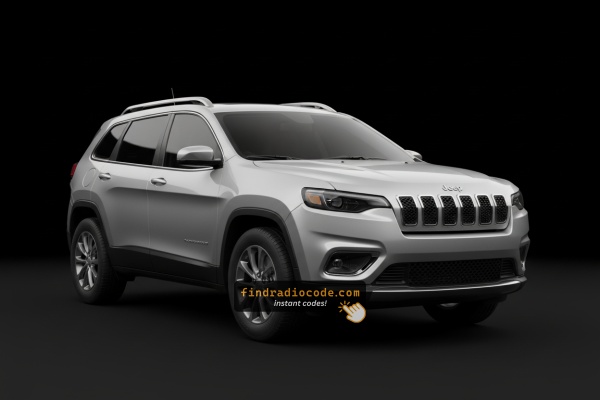
2022 Jeep Cherokee Factory Radios We Cover
Every link below opens a head unit that shipped in the 2022 Jeep Cherokee. Match the screen size and faceplate to pick the right one, then confirm where the serial is printed.
| Years | Factory radio | Serial starts with |
|---|---|---|
| 2018-2022 | 521 REFRESH ROW 8.4 VP2RFP Continental |
TQN, TVPQN, A2C, A3C
|
| 2018-2022 | R1 EXT ER Harman |
T0012, T00BE
|
| 2018-2022 | R1 EXT NA Harman |
T0012, T00BE
|
How to Unlock a Jeep Cherokee Radio After Power Loss
Getting your radio code takes only 4 simple steps.
- Locate your radio's serial number - this is the only info required by our side.
Unlike dealership lookup, no VIN is needed. - Enter the serial number into our generator above.
Our system checks it against a database of supported units and automatically finds the matching security code. - In most cases, the code appears instantly on the screen after payment and is also sent to your email for backup.
If we need to check it manually, you'll be notified before checkout. - Once you receive it, simply enter it into the radio to restore full functionality.
Entering Your Unlock Code
After locating the radio serial and retrieved the unlock code, the last step is entering it into your radio.
Jeep OEM units display a CODE prompt when ready for input.
The process is quick, but button layouts and confirmation methods may differ slightly depending on the radio version installed in your Cherokee.
Step-by-Step - The Correct Way to Enter It
To input the unlock code on your Uconnect radio:
- When the radio is locked, the screen will display "ENTER CODE" or show four dashes (----).
- Use the on-screen keypad (touchscreen models) or the preset buttons (non-touchscreen models) to enter each digit of your 4-digit code.
- After entering all 4 digits, the radio will unlock automatically – no need to press a confirm button.
Tip: Be sure you enter the code carefully. Three incorrect attempts will trigger a temporary lockout.
Step-by-Step Code Input Guide
Once the unlock code has been retrieved for a 2022 Cherokee Uconnect head unit, it can be entered directly at the dash - no scan tool or dealer visit required.
- Limited attempts: Mopar/Uconnect head units only accept three incorrect tries before the radio enters a
WAITstate, so confirm every digit before pressing it. - Place the ignition in RUN/ACC so the radio powers up but the engine stays off.
- Wait for the display to show
CODE,Please enter Anti-Theft Code, or a similar prompt. - Tap the on-screen number pad to enter each of the four digits and confirm with the OK/Enter touch button.
- If
WAITappears after incorrect attempts, leave the radio powered with the ignition in RUN for the documented cool-down period (about 30 minutes; the vehicle may be driven during this time) before trying the correct code again.
Can't Find Your Unit's S/N? Follow These Steps for Jeep Cherokee 2022
The useful fact to know is that factory radios use a specific serial number to identify each unit.
Your security system matches the code directly to this serial.
Unlike vehicle-specific data such as VIN or registration information, it is not determined by the model or production year, so you'll be able to generate it even if you have a radio that you installed afterwards.
Depending on the maker and radio installed in your Jeep Cherokee, the access method is different.
Here are the best ways to find it.
Radios Offered in the 2022 Cherokee
For 2022 the Jeep Cherokee transitions to a single-screen line-up: the 8.4-inch Uconnect 4C touchscreen becomes standard equipment across all four trims (Latitude Lux, X, Trailhawk and Limited), with built-in navigation only on the NAV variant. The 7-inch UAG unit is no longer offered on Cherokee for the 2022 model year.
- Uconnect 4C (
UAS) - 8.4-inch non-NAV touchscreen, standard on Latitude Lux, X and Trailhawk. Visual ID: large 8.4-inch screen filling the dash opening edge to edge; Apple CarPlay and Android Auto are supported, but the home screen has no Map/NAV tile because GPS navigation is not built in. - Uconnect 4C NAV (
UAQ) - 8.4-inch touchscreen with built-in GPS. Standard on Limited, optional on Trailhawk. Visual ID: identical 8.4-inch bezel and glass to UAS, but the home screen carries a dedicated NAV/Map tile and on-board maps are bundled.
Audio: an available nine-speaker Alpine premium sound system with an 11-channel, 506-watt amplifier is offered on higher trims. Field test for the head unit itself: 8.4-inch with no Map tile = UAS, 8.4-inch with a Map tile = UAQ.
Accessing the Serial Number Through the Radio Menu
Try the following for your 2022 Jeep Cherokee:
The Jeep Cherokee KL (2014–2023) came with three different Uconnect configurations. The first step is identifying which one you have, because each uses a different method to access Dealer Mode.
8.4" Classic (2014–2018): Hold Fan Up + Fan Down + Front Defrost for 5 seconds → Dealer Mode. Navigate: System Info → Radio Part Info → Serial Number. Also works via Engineering Menu: hold Temp Up + Temp Down for 5 seconds.
Uconnect 7" (all years with this screen): Hold Temp Up + Temp Down for 5 seconds → Engineering Menu opens. Navigate: System Info → Target Main Data → Serial Number.
8.4" NEW (2019+): Press the bottom-left + bottom-right plastic bezel edges simultaneously until Dealer Mode opens. Navigate: System Info → Radio Part Info → Serial Number. Serial: 14 characters, e.g. T00AM1801T0282.
Quick Method: Find the Serial Number on the Screen
The 2022 Cherokee ships with the 8.4-inch Uconnect 4C head unit (UAS non-NAV or UAQ NAV). On most units the radio serial number can still be read straight from the touchscreen via the hidden dealer/diagnostic menu, though later Uconnect software builds may have restricted dealer-mode access on some cars.
Uconnect 4C 8.4 (UAQ / UAS)
- Switch the ignition to RUN/ACC and wait for the Uconnect interface to finish booting.
- Press and hold the driver-side temperature UP, the driver-side temperature DOWN, and the front DEFROST buttons together for roughly 5-10 seconds.
- If the climate-button shortcut does nothing on a software-updated unit, press and hold the bottom-left and bottom-right corners of the screen at the same time for about 5-10 seconds.
- Browse to the radio/system info section to read the serial number on screen.
- Photograph the screen so the characters can be transcribed accurately.
Find the Serial by Pulling Out the Radio Unit
If the serial does not appear on display, the next step is checking the radio itself.
Many Jeep radios require physical access to the serial sticker attached to the unit.
Common approach:
- Start by completely shutting off the engine - pull the key out.
- Then lift the radio surround.
- Next, loosen the mounting points and slide the radio forward.
- Look for a printed tag showing the serial number.
📹 Video Guide: Jeep Cherokee Radio Removal
Watch step-by-step tutorials for removing your Jeep Cherokee radio:
2014-2016 Cherokee KL
2019 Cherokee
General Cherokee
Need a different Cherokee year or model? Search YouTube for more Cherokee tutorials
Written Instructions
Physical Radio Removal (if Dealer Mode is unavailable)
If the on-screen method is not available on your vehicle, the radio can be physically removed to read the serial number label on the top, side, or back of the unit:
- Remove the trim bezel – Carefully pry off the dashboard trim surrounding the radio using a plastic trim removal tool. The bezel is held by friction clips.
- Unscrew the mounting bolts – Remove the 4 mounting screws (usually Torx or Phillips) securing the radio to the dash frame.
- Slide the unit forward – Gently pull the radio out far enough to see the label. Do not disconnect the wiring harness unless necessary.
- Locate the serial number label – Locate a white or silver sticker with a barcode on the top or side of the unit. The serial number is a 14-character alphanumeric code (e.g.
T00AM1801T0282).
For step-by-step guidance with video tutorials for specific vehicles, see our Uconnect radio removal guide.
Serial Number on the Unit
If dealer mode has been restricted on the 2022 Cherokee by a Uconnect software update, the printed chassis label remains the next reliable source for the serial. The Uconnect 4C head unit on the KL Cherokee sits in a centre stack with the climate cluster below, so a careful, methodical removal is important.
- Safety first: turn the ignition off, remove the key, disconnect the negative battery terminal, and wait a few minutes before touching wiring; never disturb the yellow airbag/SRS connectors and use plastic trim tools so nothing shorts or breaks.
- Tools you will need: plastic trim removal kit, Phillips and small Torx bit set, 7mm/10mm socket set, flashlight.
- Pry the centre stack bezel free with a plastic trim tool starting at the lower edge and working up the sides; keep pressure even because the bezel sits adjacent to the climate cluster.
- Unplug any switch/HVAC connectors at the rear of the bezel, then set the trim aside.
- Remove the screws (typically four, two upper and two lower) holding the radio cage to the support bracket, slide the radio rearward, and disconnect the antenna lead and the multi-pin power/data harness on the back.
- The serial number sits on a printed barcode/sticker label on the top or side of the radio chassis, next to the part number and supplier markings.
- Photograph the label up close and double-check ambiguous characters such as 0/O, 1/I and B/8. If working around airbag wiring is uncomfortable, have a professional installer remove the unit for you.
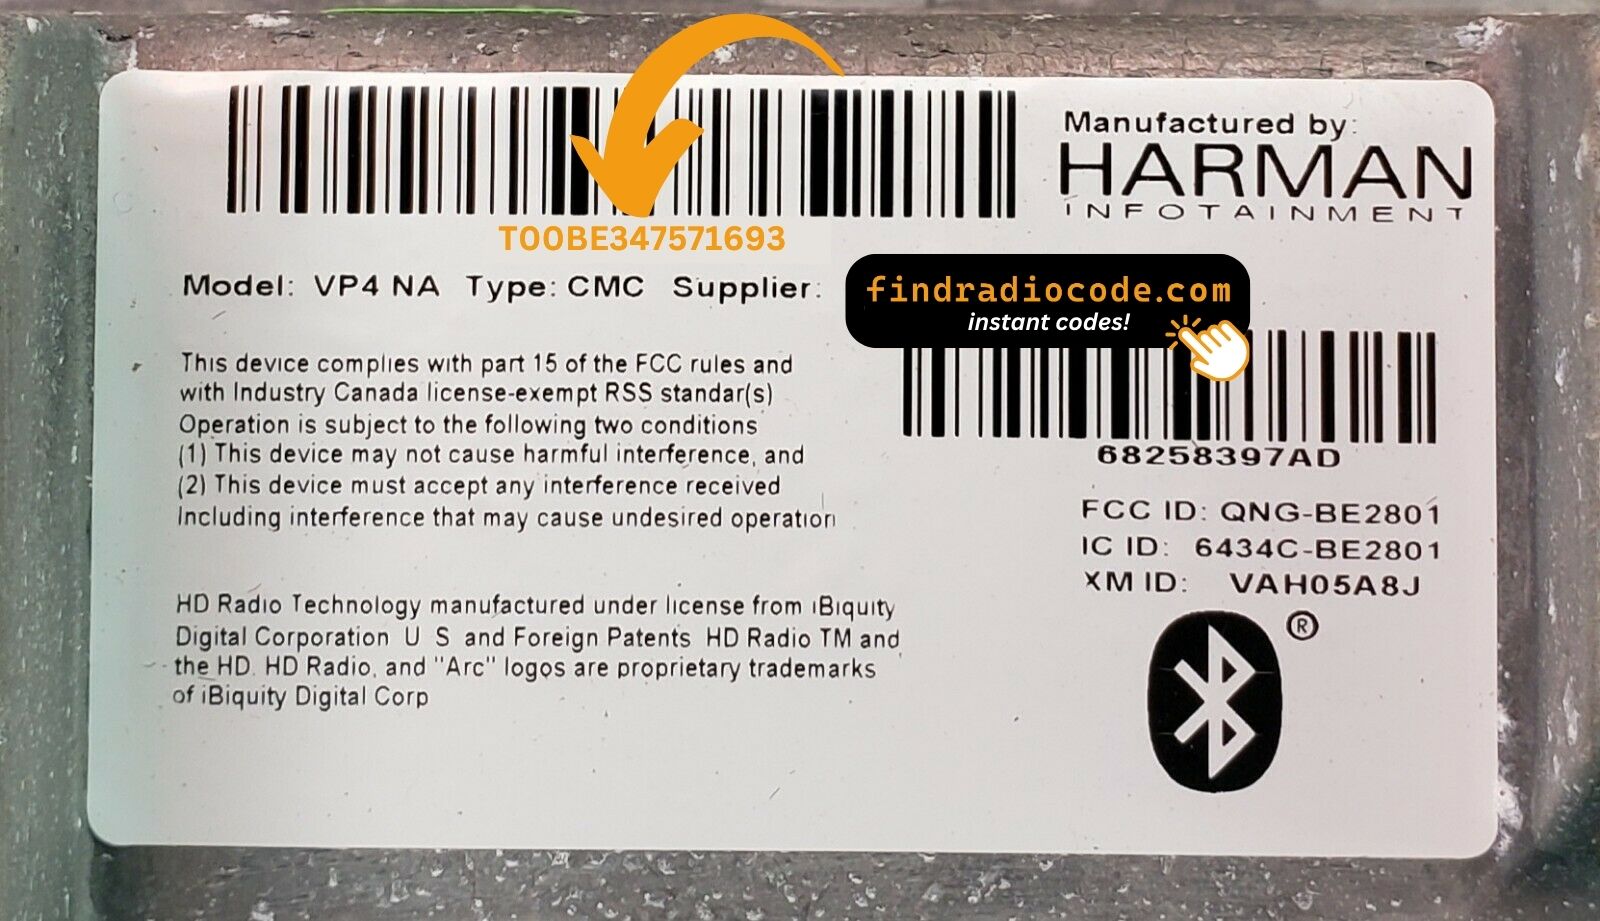
Example: Jeep Cherokee serial number label location
Common S/N Formats Used on 2022 Cherokee Units
Your Jeep Cherokee 2022 radio serial number may start with:
T00AMT00BETM9T0MYDA2CTQNTVPQNT0071T00AD
Serial Number Format Guide for 2022 Jeep Cherokee
The factory radios on the 2022 Cherokee use the standard Mopar/Uconnect serial style, with the exact prefix depending on the Uconnect tier and the supplier (Visteon, Continental, Harman or Panasonic) that built the unit. Because Cherokee dropped the 7-inch UAG for 2022, only the 8.4-inch UAS/UAQ formats are commonly seen.
Uconnect 4C 8.4 (UAQ / UAS)
- The serial is typically a 14-character alphanumeric string printed on the chassis label.
- Commonly begins with
T- frequent prefixes includeT00AM,TM9andTQ1- or withA2Con Continental-built variants. - Usually a continuous run of letters and digits with no dashes or spaces.
Understanding Unlock Issues with Your Cherokee
If the radio rejects the code:
- verify unit identifier
- re-enter digits slowly
- confirm using proper confirm action.
The wrong serial format is the most frequent cause.
Check:
- correct touchscreen action
- short press vs long press
- confirmation key location.
If the serial fails, double-check the label, confirm the length and format, and avoid spaces or extra symbols.
LOCK mode activates after repeated incorrect entries.
Keep:
- power supply stable
- ignition ON
- no button pressing during wait period.
Try turning the radio off/on or disconnecting the power briefly.