
Find the 2018 Jeep Cherokee Head Unit
Each link below opens a radio model that shipped in the 2018 Jeep Cherokee. Match the display and buttons to find yours, then confirm the serial prefix.
| Years | Factory radio | Serial starts with |
|---|---|---|
| 2013-2018 | Uconnect 8.4 RA3 VP3 MX Harman |
T00AM, T00BE, T0012
|
| 2014-2018 | Uconnect 8.4 RJ3 VP4 ROW Harman |
T00AM, T00BE, T0012
|
| 2015-2018 | Uconnect 8.4 RM4 VP4 JP Harman |
T00AM, T00BE, T0012
|
| 2017-2020 | Chrysler Uconnect 8.4 UAQ Panasonic |
TM9
|
| 2017-2020 | Chrysler Uconnect 8.4 UCQ Panasonic |
TM9
|
| 2017-2021 | Uconnect 7.0 UAG UCG 7 inch SDARS Continental |
TQN, TVPQN, A2C, A3C
|
| 2017-2021 | Uconnect 7.0 UJG VP2RFP Continental |
TQN, TVPQN, A2C, A3C
|
| 2018-2022 | R1 EXT NA Harman |
T0012, T00BE
|
Locked Cherokee Radio? Here's Exactly How to Get the Code
Vehicle radios use security codes dependent on the radio unit itself rather than the model or production year.
- The generator identifies your Jeep radio via serial-based verification.
- Once the serial number is submitted, the system identifies the radio family and generates the code that you need.
- Use the code to unlock the radio immediately.
- Compared to Jeep dealer retrieval, this method is faster and more convenient.
Entering the Radio Security Code
After receiving 2018 Jeep Cherokee anti-theft code from the serial number, you're ready to reactivate the radio.
Many drivers hesitate at this stage because input process can look different across radio versions, but it's usually simple.
When the radio shows ENTER CODE, it means the unit is waiting for the correct numbers.
Step-by-Step Code Input Guide
To input the unlock code on your Uconnect radio:
- When the radio is locked, the screen will display "ENTER CODE" or show four dashes (----).
- Use the on-screen keypad (touchscreen models) or the preset buttons (non-touchscreen models) to enter each digit of your 4-digit code.
- After entering all 4 digits, the radio will unlock automatically – no need to press a confirm button.
Tip: Ensure you enter the code carefully. Three incorrect attempts will trigger a temporary lockout.
Detailed Input Instructions for Cherokee 2018
Once you have the correct anti-theft code for your 2018 Cherokee radio, the entry itself is fast - but the radio will lock you out for half an hour if you guess wrong too many times, so confirm the code before you start.
Limited Attempt Warning
Three attempts is the limit. After three wrong codes in a row the radio enters a WAIT state and the display reads WAIT. To clear it, the radio must remain powered with the ignition in RUN for a continuous 30 minutes (the vehicle may be driven during this time). Switching the key off does not bypass the timer.
Entering the code
- Turn the ignition to RUN or ACC so the radio powers up and shows the CODE / Anti-Theft prompt.
- On the 8.4-inch Uconnect (RA3/RA4), tap each digit on the touchscreen number pad.
- On the 5-inch Uconnect 5.0 (RA2), enter the digits using the preset (1-6) buttons in sequence.
- Confirm with the OK/Enter on-screen control or the equivalent hardware button.
- When the code is accepted, the radio returns to the normal home screen and audio resumes.
If it does not unlock
- Stop after the second wrong attempt and re-verify the serial used to obtain the code.
- Make sure no leading letters or trailing digits were dropped from the serial.
- If
WAITappears on screen, leave the radio powered for the full 30 minutes before trying again.
Finding the Radio S/N for Jeep
The useful thing to know is that factory radios use a specific serial number to identify each unitindividually.
Your anti-theft system matches the code directly to this serial.
Different from vehicle-specific data such as VIN or registration info, it is not determined by the model or production year, so you'll be able to generate it even if you have an aftermarket radio.
Depending on the maker and radio installed in your Jeep Cherokee, the access method is different.
Here are the most reliable ways to locate it.
Which Head Unit Is in Your 2018 Cherokee?
The 2018 model year brought the mid-cycle facelift to the KL Cherokee, but the factory head-unit lineup stayed broadly the same. FCA continued offering three Uconnect units, with 2018 being the last year for the original RA-series 8.4 hardware on the KL.
Factory head units for the 2018 Cherokee
- Uconnect 5.0 (RA2) - 5-inch base touchscreen, no factory navigation; standard on Sport and entry Latitude trims.
- Uconnect 8.4A (RA3) - 8.4-inch touchscreen without factory-activated navigation; common on Latitude Plus and Limited builds.
- Uconnect 8.4AN (RA4) - 8.4-inch touchscreen with factory navigation, HD Radio and SiriusXM Travel Link; top-tier option, frequently fitted to Limited, Overland and Trailhawk.
Identifying yours quickly
- Screen size is the easiest indicator - 5-inch is RA2; 8.4-inch is RA3 or RA4.
- If the 8.4-inch home screen shows a native Nav tile, you have the RA4.
- An 8.4-inch unit without a factory nav button is normally the RA3.
- If your Cherokee has an aftermarket or upgraded Uconnect 4C UAS/UAQ, that swap is owner-installed - it was not a factory option for the 2018 KL.
Access Your Serial Number on the Radio Screen
Try the following for your 2018 Jeep Cherokee:
The Jeep Cherokee KL (2014–2023) came with three different Uconnect configurations. The first step is identifying which one you have, because each uses a different method to access Dealer Mode.
8.4" Classic (2014–2018): Hold Fan Up + Fan Down + Front Defrost for 5 seconds → Dealer Mode. Navigate: System Info → Radio Part Info → Serial Number. Also works via Engineering Menu: hold Temp Up + Temp Down for 5 seconds.
Uconnect 7" (all years with this screen): Hold Temp Up + Temp Down for 5 seconds → Engineering Menu opens. Navigate: System Info → Target Main Data → Serial Number.
8.4" NEW (2019+): Press the bottom-left + bottom-right plastic bezel edges simultaneously until Dealer Mode opens. Navigate: System Info → Radio Part Info → Serial Number. Serial: 14 characters, e.g. T00AM1801T0282.
Fast Serial Lookup Using Radio Controls
For 2018 Cherokees fitted with an 8.4-inch Uconnect, you can usually read the serial number directly from a hidden dealer/diagnostic menu without removing the unit.
Uconnect 8.4A (RA3) and Uconnect 8.4AN (RA4)
- Place the ignition in the RUN position so the 8.4-inch touchscreen is fully booted.
- Press and hold the driver's temperature UP, temperature DOWN and front DEFROST buttons together for roughly 7 seconds.
- When the dealer/diagnostic menu opens, select the radio-information entries near the top of the list - they list serial numbers and hardware/software revisions.
- Note the full serial exactly as printed, including any leading letters such as
T00AMorTM9. - Press Done or cycle the ignition to exit the menu.
Uconnect 5.0 (RA2)
- For the 5-inch RA2 still found on lower 2018 Cherokee trims, a reliable on-screen serial readout is not consistently documented.
- If the dealer-mode shortcut does not bring up a serial entry, fall back to the chassis-label method described in the removal block.
Releasing the Unit to View the S/N on the Tag
If the serial does not appear on display, the next step is checking the radio itself.
Many Jeep radios require physical access to the serial sticker attached to the unit.
Usual approach:
- Start by completely shutting off the engine - pull the key out.
- Then remove the dashboard bezel.
- Next, unscrew the mounting points and move the radio forward.
- Look for a barcode label showing the serial number.
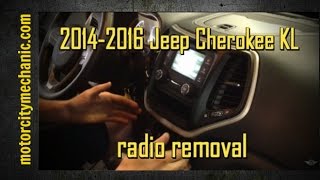
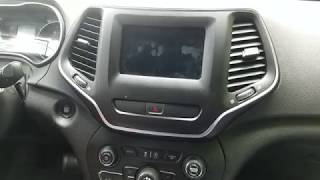
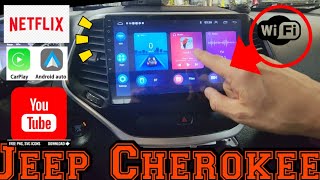
📹 Video Guide: Jeep Cherokee Radio Removal
Watch step-by-step tutorials for removing your Jeep Cherokee radio:
2014-2016 Cherokee KL
2019 Cherokee
General Cherokee
Need a different Cherokee year or model? Search YouTube for more Cherokee tutorials
Written Instructions
Physical Radio Removal (if Dealer Mode is unavailable)
If the on-screen method does not work on your vehicle, the radio can be physically removed to access the serial number label on the top, side, or back of the unit:
- Remove the trim bezel – Carefully pry off the dashboard trim surrounding the radio using a plastic trim removal tool. The bezel is held by friction clips.
- Unscrew the mounting bolts – Remove the 4 mounting screws (usually Torx or Phillips) securing the radio to the dash frame.
- Slide the unit forward – Gently pull the radio out far enough to see the label. Do not disconnect the wiring harness unless necessary.
- Locate the serial number label – Look for a white or silver sticker with a barcode on the top or side of the unit. The serial number is a 14-character alphanumeric code (e.g.
T00AM1801T0282).
For detailed instructions with video tutorials for specific vehicles, see our Uconnect radio removal guide.
Manufacturer Label Inspection
If you cannot get into the hidden menu, or the radio is locked at the CODE prompt and the touchscreen is unresponsive, pulling the head unit out is the dependable way to read the serial on a 2018 Cherokee.
Safety preparation
- Turn the ignition fully off and remove the key fob from the cabin.
- Disconnect the negative terminal of the 12V battery.
- Wait several minutes before reaching behind the dash so any airbag circuits can fully discharge.
- Avoid pulling on yellow airbag wiring as you remove trim.
Tools to have ready
- Plastic trim/panel pry tools to free the dash bezel without marks.
- A driver matching the four radio retaining screws (typically Phillips or 7 mm).
- A phone/camera to photograph the chassis label.
Removal overview
- Pry off the lower trim panel surrounding the climate controls; on the 2018 Cherokee this trim is held by spring clips rather than visible bolts.
- With the lower trim free, undo the small screws revealed behind it.
- Walk a pry tool around the upper radio bezel until each remaining clip releases, then ease it forward.
- Unplug any small switch/HVAC connectors at the back of the bezel before fully removing it.
- Undo the four retaining screws now visible at the corners of the radio chassis.
- Slide the head unit out and disconnect the wiring harness and antenna lead.
Where the serial sits
- Look for a printed label on the metal chassis - usually on the top or side face.
- Copy the long alphanumeric string next to the barcode and double-check ambiguous characters (O vs 0, I vs 1).
Tips
- Photograph the label so the serial is preserved as a reference.
- Reassembly is the reverse of removal: harness back on, four screws home, bezel pressed in until each clip seats, then reconnect the battery.
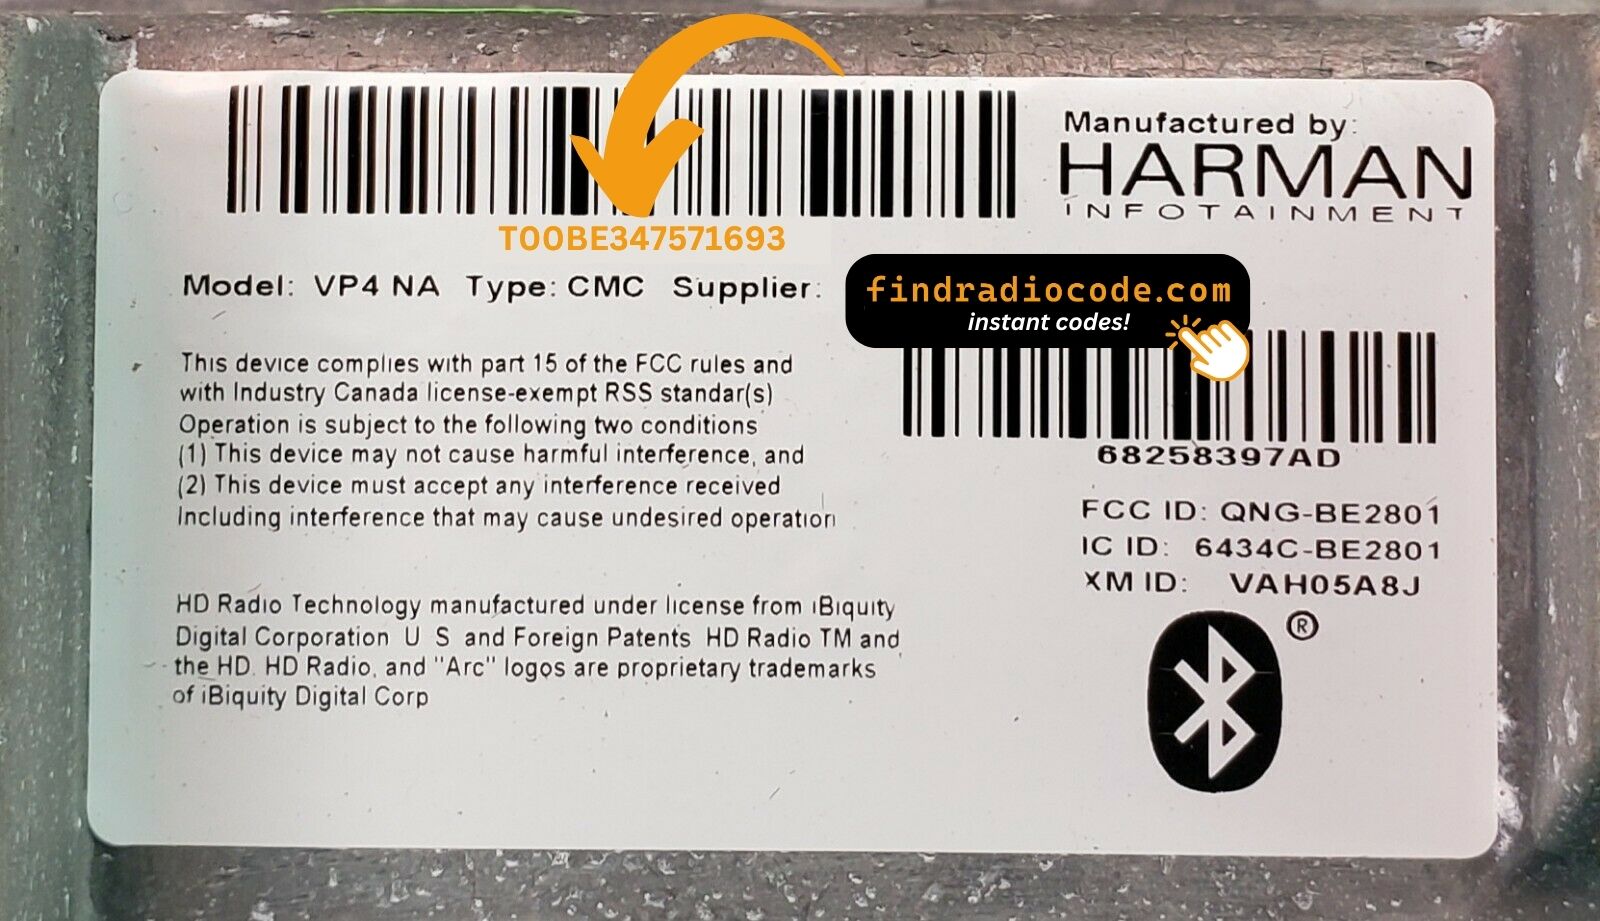
Example: Jeep Cherokee serial number label location
Common S/N Formats Used on 2018 Cherokee Units
Your Jeep Cherokee 2018 radio serial number may start with:
T00AMT00BETM9T0MYDA2CTQNTVPQNT0071T00AD
S/N Patterns and Prefixes
The 2018 Cherokee could leave the factory with one of three Uconnect head units, each from a different supplier, so the serial-number style varies by radio. The patterns below are the ones most often reported for this generation.
Continental-supplied Uconnect 8.4 (RA3 / RA4)
- Often start with
T00AMfollowed by a numeric string, e.g. a serial resemblingT00AM1234567. - The prefix is printed inline with the rest of the serial on the chassis label.
Panasonic-supplied Uconnect units
- Frequently start with
TM9followed by additional digits or letters. - This pattern has been widely reported on Panasonic-built Mopar radios from this era.
Uconnect 5.0 (RA2) base radio
- Also carries a printed serial label on the chassis, but the prefix can vary by supplier batch - read the full string off the label rather than assume a fixed format.
If the alphanumeric you read does not fit any of these patterns, double-check that you have copied the serial line and not the part number. The serial is normally the longest string on the label and is the one tied to the barcode.
Fixing Common Code Entry Problems for 2018 Cherokee
Check:
- serial number accuracy
- digit order
- correct final press
Common mistakes:
- part number vs serial
- extra spaces or missing characters.
Try turning the radio off/on or disconnecting the power briefly.
Common issues:
- part number instead of serial
- missing characters
- Incorrect prefix
Messages like SAFE mean too many attempts.
Solution:
- ignition powered
- radio active
- wait for timer reset.
Look for missing confirm steps, wrong input methods, or disabled buttons during lockout.